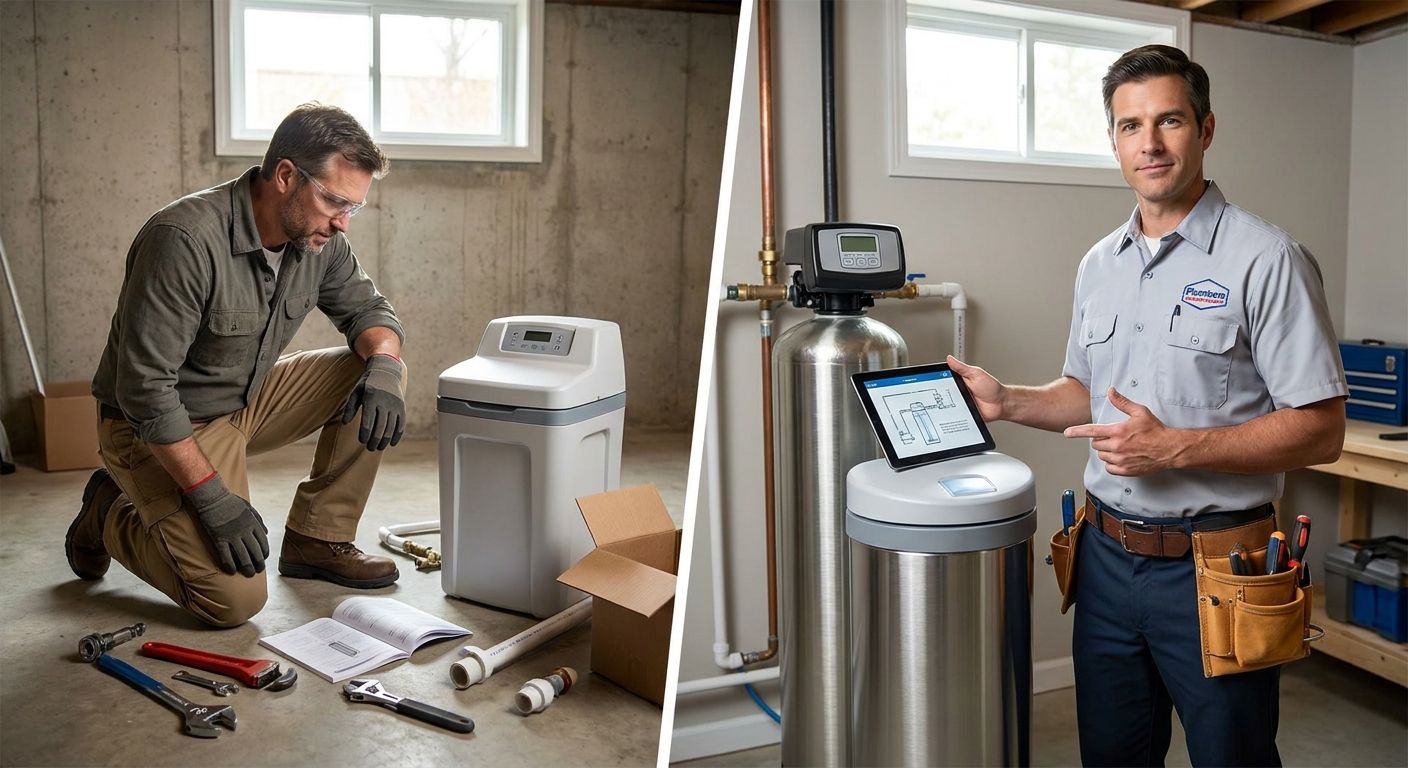
Installing a water softener yourself saves the labor line item, but a bypassed shutoff valve, a mis-sized drain line, or a code violation on the discharge line can turn a $400 unit into a $2,000 repair bill. This guide breaks down both paths so you know which one fits your house, your tools, and your patience.
- DIY water softener installation runs 4-8 hours and voids some manufacturer warranties if done wrong.
- Professional installation from a licensed Sacramento plumber typically closes the job in half a day with a permit and pressure test included.
- Sweating copper and cutting into a main water line is the step where most DIY installs fail.
- Homes with galvanized pipe or a crawlspace shutoff should skip DIY water softener installation and call a plumber.
- Flores Precision Plumbing handles water softener installation for hard water homes across Sacramento when the plumbing gets complicated.
Why this matters
Sacramento tap water runs moderate to hard, and untreated hardness leaves scale inside water heaters, clogs aerators, and shortens the life of washing machines. A softener fixes that, but only if the bypass valve, drain line, and electrical outlet are installed correctly the first time.
Getting the install wrong doesn't always show up immediately. A slow drip behind a bypass fitting can run for weeks before it warps a cabinet floor, and a softener wired without a dedicated GFCI outlet is a code violation that surfaces at resale, not at install. The choice between DIY and hiring out in 2026 comes down to your plumbing's condition, not just your comfort with tools.
What you'll need
Before you decide DIY or professional, know what the job actually requires:
- A water softener unit sized for your household (check how to choose a water softener for hard water homes before buying — undersized units run through salt fast and never fully soften)
- Copper or PEX cutting tools, or a compression-fitting kit if you want to avoid soldering
- Teflon tape, pipe primer and cement (for PVC drain lines), and a tubing cutter
- A dedicated 120V GFCI outlet within reach of the unit's power cord
- A floor drain or standpipe near the install location for the brine discharge line
- 2-4 hours minimum if your existing plumbing lines up with the new unit; 6-8 hours if you're rerouting pipe
- A permit, in most Sacramento-area jurisdictions, since a softener ties into the main water line
If your home has galvanized supply lines, a crawlspace-only shutoff valve, or no existing loop for a softener, add that complexity to your time estimate — or hand it to a licensed plumber.
The steps
1. Shut off the main water supply and drain the lines
Find the main shutoff, usually near the water meter or where the line enters the house, and close it fully. Open the lowest faucet in the house to drain residual pressure before you cut anything. Skipping this step is the single most common reason DIY softener installs flood a garage floor within the first ten minutes.
Common mistake: closing a secondary valve instead of the main, then cutting into a line that's still pressurized.
2. Choose the install location and confirm clearances
Place the unit near the point where the main line enters the house, ahead of the water heater, so the softener treats hot and cold water equally. Leave at least 6 inches of clearance around the unit for salt refills and service access.
This is also where you decide DIY vs professional for real — if the ideal location is 15 feet from your existing line with no accessible drain, you're looking at a repipe job, not an afternoon project.
3. Cut in the bypass valve and connect supply lines
Install the bypass valve assembly first; it lets you take the softener offline for maintenance or a salt bridge repair without shutting off water to the whole house. Connect the inlet and outlet lines per the manufacturer's flow arrows — reversing them is a mistake that ruins resin beds within weeks.
Use compression fittings if you're not confident soldering copper. A cold solder joint that looks fine on install day can weep water for months before failing outright.
Common mistake: soldering with water still in the line, which prevents the joint from reaching temperature and creates a pinhole leak later.
4. Run the drain line and overflow tube
Route 1/2-inch drain tubing from the softener's brine tank to a floor drain, standpipe, or laundry sink, with an air gap of at least 1.5 inches above the drain opening — most plumbing codes require this to prevent backflow contamination. Route the overflow tube separately to the same drain area, positioned lower than the brine tank's overflow port.
A drain line that's too long or has more than a couple of tight bends will slow backwash cycles and leave salt residue in the tank.
5. Wire the control head to a dedicated outlet
Plug the control valve into a GFCI-protected outlet — never a shared circuit with a sump pump or freezer, since a tripped breaker on that circuit will stop your softener from regenerating. Set the system clock and program the regeneration schedule based on your household size and water hardness.
Common mistake: skipping the GFCI requirement because the existing outlet is close enough — this is a code and safety issue, not a convenience shortcut.
6. Slowly restore water pressure and check every joint
Open the main valve partway first, let the lines fill, then check every fitting you touched for drips before opening it fully. Run the softener through a manual regeneration cycle to confirm the brine tank draws water and the resin tank backwashes correctly.
Leave a flashlight and a dry paper towel under each joint overnight — a slow weep won't show up in the first ten minutes but will show up by morning.
7. Test water hardness after 24-48 hours
Run a hardness test strip on a kitchen tap after the system completes at least one full cycle. You're looking for a drop to near 0-1 grains per gallon on treated water; if hardness is still elevated, the bypass valve may be partially open or the resin tank undersized for your household.
If you're not confident diagnosing that on your own, water softener installation for hard water homes in Sacramento from a licensed plumber includes a post-install pressure and hardness check as part of the job.
Not sure the DIY route fits your plumbing?
Get a Sacramento-based quote for softener installation before you cut into a line.
Troubleshooting
- Softener won't regenerate on schedule — check that the control head is receiving power and the time clock survived a recent outage; a lost setting resets the cycle.
- Salty-tasting water right after install — flush the lines by running a few taps for 5-10 minutes; residual brine from the initial backwash is normal in the first day.
- Water pressure drops after installation — a bypass valve left partially closed restricts flow; open it fully and check for kinked supply tubing.
- Brine tank not drawing water — the injector or venturi valve is often clogged with sediment on hard-water systems; clean it before assuming the unit is defective.
- Leak at a compression fitting days after install — the ferrule likely wasn't seated correctly; re-tighten a quarter turn before replacing the whole fitting.
- Softener runs constantly but water still tests hard — the resin bed may be undersized or fouled with iron; this usually means a reassessment of the unit, not just a settings tweak.
Tools and resources
- Tubing cutter, compression fitting kit, Teflon tape, and pipe cement
- A hardness test strip kit to verify results after install
- Manufacturer manual for programming the regeneration cycle
- How to maintain a water softener system for the salt refill and resin-cleaning schedule after your unit is running
- A licensed plumber's number on hand, in case the drain line or bypass valve needs correcting mid-project
What to do next
If your plumbing is straightforward — accessible main line, existing drain nearby, standard supply pipe — a DIY water softener installation in 2026 is realistic for a confident weekend project. If any of that isn't true, the cost of a botched install (repiping, drywall repair, a voided manufacturer warranty) usually exceeds what professional labor would have cost upfront.
For households leaning toward a lower-maintenance system instead of salt-based softening, best salt-free water softeners for small households covers the tradeoffs before you commit to either install method.
FAQ
Is DIY water softener installation worth it in 2026?
DIY water softener installation is worth it if your main line is accessible and you already have a nearby drain, since you save the labor cost of hiring a plumber. It's not worth it if you have galvanized pipe, a crawlspace shutoff, or no dedicated outlet, since those add hours and risk to the job.
How long does it take to install a water softener yourself?
A straightforward DIY install takes 4-8 hours, including shutting off water, cutting in the bypass valve, running the drain line, and testing hardness after the first cycle. Rerouting pipe or adding a new outlet extends that timeline significantly.
Does installing a water softener yourself void the warranty?
Some manufacturers require professional installation to keep the warranty valid, so check the unit's paperwork before starting. Others only require proof of correct installation, which a DIY install with photos can satisfy.
Do I need a permit to install a water softener in Sacramento?
Most Sacramento-area jurisdictions require a permit for work that ties into the main water line, which includes softener installation. A licensed plumber typically pulls the permit as part of the job; DIY installers need to apply separately.
What's the most common mistake in DIY water softener installation?
Reversing the inlet and outlet connections on the bypass valve is the most common mistake, and it can damage the resin bed within weeks. Cutting into a line that's still pressurized is the second most common, usually causing an immediate flood.
Is it better to hire a plumber for water softener installation?
Hiring a plumber is better when your home has galvanized supply lines, no accessible drain, or an unusual main line layout, since those conditions turn a simple install into a repiping job. For straightforward setups, DIY is a reasonable option in 2026.
How much does professional water softener installation cost?
Professional installation costs vary based on whether existing plumbing needs modification, with straightforward swaps at the low end and jobs requiring new lines or outlets at the high end. Getting a quote before starting DIY work helps you compare against your own time and material costs.
Can a water softener be installed without cutting copper pipe?
Yes, compression fittings let you connect a softener to PEX or copper without soldering, which is a common workaround for DIY installers uncomfortable with a torch. The tradeoff is a slightly higher risk of a slow leak if the ferrule isn't seated correctly.
One last thing
The step that trips up more DIY installs than any other isn't the plumbing — it's the drain line air gap. Skip that 1.5-inch gap and you've created a backflow path that most inspectors will flag even if the softener itself works fine, and it's a five-minute fix if you catch it during install instead of during a resale inspection years later.